• Skip to primary navigation
  • Skip to main content
  • Skip to primary sidebar
Garden to Griddle
  • Accessibility Policy
  • Affiliate Disclosure
  • Recipe Policies
  • All Rights Reserved
  • Shop Kitchen and Home
  • Healthy from-scratch recipes
  • Contact
menu icon
go to homepage
  • Recipes
  • About
  • Subscribe
subscribe
search icon
Homepage link
  • Recipes
  • About
  • Subscribe
×

How to Remove Arsenic from Rice (all rice types)

Published: Feb 9, 2021 · Modified: Feb 26, 2022 by Garden to Griddle · This post may contain affiliate links · Leave a Comment

Jump to Recipe Print Recipe

Following the most recent research learn how to effectively remove the most arsenic from your rice while retaining the most nutrients.
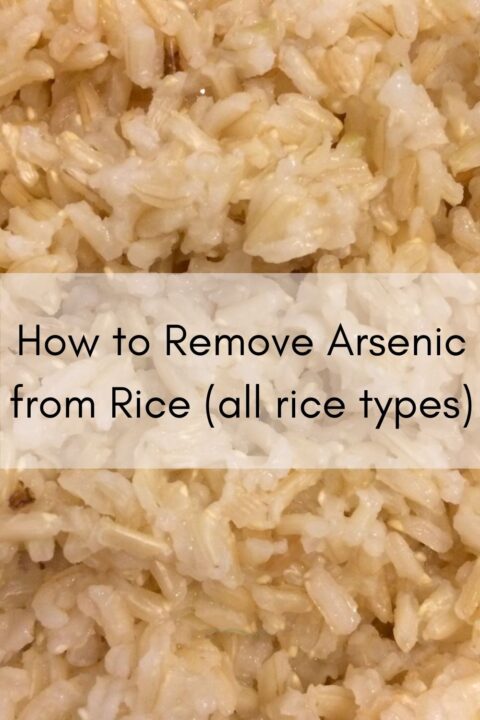
Have you been wondering how to effectively remove arsenic from rice when cooking, while still retaining all the nutrients?

There have been many methods recommended over the years and across different cultures, but a study was just published explaining the most effective method. I have created a separate post summarizing the study itself and detailing this method which is termed parboiled and absorbed (PBA). To not be redundant, please follow this link to read that post:

The Most Effective Way to Remove Arsenic in Rice 

The method is simple, but takes a few more minutes and more hands on time at the beginning. You can use this method with any type of rice, but please be aware that cook times may vary slightly depending on if you’re using stovetop, rice cooker, or crock pot, and the rice you’re using. No matter what rice you use, you’ll want to follow the instructions found below in the instructions.

Measurements (continue down for detailed instructions)

4 cups water for every 1 cup rice (you’ll be discarding this water).

After removing arsenic water you’ll add another 2 cups water for that 1 cup rice.

  • Half batch would be 2 cups water for ½ cup rice (discard water). Then 1 cup water for that ½ cup rice.
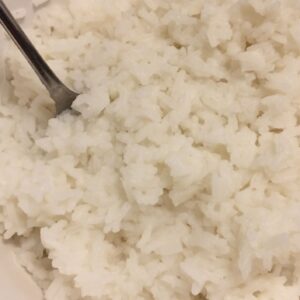
white rice with metal spoon

How to Remove Arsenic from Rice (all rice types)
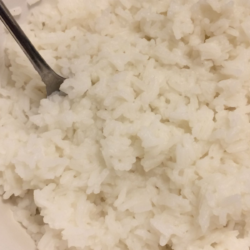
Following the most recent research learn how to effectively remove the most arsenic from your rice while retaining the most nutrients.
Print Recipe Pin Recipe
Cook Time 45 minutes mins
Total Time 45 minutes mins
Course Side Dish, Toddler and Kid Friendly
Cuisine gluten free
Servings 4 servings

Ingredients
  

  • 1 cups uncooked rice (any type of rice)
  • 6 cups water, divided (4 cups first round, 2 cups second)

Instructions
 

  • Please be aware that cook times vary depending on the temperature you set your stove, whether or not you use a rice cooker or crock pot, and the type of rice you use. General guidelines are the same for all the above.
  • Following instructions from recent study: heat a medium-large pot on medium heat and bring 4 cups of water to a boil. This will take about 18 minutes.
  • Add 1 cup uncooked rice (white, brown, basmati) and boil for 5 minutes covered (lowering heat slightly if needed).
  • Keeping burner on, remove pot from stove and discard arsenic water by pouring rice and water into a strainer.
  • Return rice to pot with 2 cups fresh water. Decrease heat to low-medium and cook for about 10 minutes or until the rice gets back up to temperature and reaches a simmer. Decrease heat to low and continue cooking until all the water is absorbed ( about 10-12 minutes). Because this method does make the rice softer, I like to remove the lid at this time with the heat turned off and let it sit for a bit to allow more moisture to escape.
  • Enjoy your rice with less arsenic and retained nutrients!

Keyword how to best cook rice, how to remove arsenic from rice, how to retain nutrients cooking rice

More Recipes

  • Bloomer bread in an elongated shape with light golen brown color, 6 diagonal slashes across the bread, flour dusting.
    Bloomer Bread
  • Square image of baked cornbread in a white CorningWare casserole dish with black and white striped towel in lower left corner and pie cutter partially in picture in upper left corner.
    Honey Cornbread
  • white Corning Ware bowl with fusilli noodles, diced black olives, dark red kidney beans, diced green onion, diced tomato mixed together with a wooden spoon in the bowl and all on a blue and white towel.
    Bean Powered Pasta Salad
  • side view of a chimichanga with browned edges, topped with thinned Greek yogurt and diced tomatoes on a bed of chopped lettuce with jar of salsa in the upper left and guacamole on right side and a second chimichanga in the back all on a wooden cutting board
    Beef and Bean Chimichangas

Reader Interactions

Leave a comment and rating, I'd love to hear from you! Cancel reply

Your email address will not be published. Required fields are marked *

Rate this Recipe


Primary Sidebar

gaden to griddle logo

Welcome to my site! I'm a Self-taught cook and baker, and supporter of wholesome living. Learn more About Me →

Popular Posts

  • pork shoulder roast with crackling shredded with metal fork
    Pork Shoulder Roast with Crackling
  • plum butter in mason jar
    Plum Butter (naturally sweetened)
  • kraut burgers cut open to show filling
    The Ultimate Kraut Burgers
  • pickled onions in glass bowl
    Quick Pickled Onions for Small Batch and Refrigerated
  • crab salad scooped onto a white plate
    Healthy Crab Salad with Greek Yogurt
  • baked chicken nuggets
    Baked or Pan Fried Chicken Nuggets
  • apple pie bar with apple in background
    From Scratch Apple Cheesecake Bars with Greek Yogurt
  • homemade crabapple sauce in a mason jar
    Homemade Crabapple Sauce with 3 Ingredients

Footer

  • Privacy Policy
  • Affiliate Disclosure
  • Accessibility Policy
  • About
  • Recipes
  • Clean Living
  • Contact

As an Amazon Associate I may earn from qualifying purchases.

Copyright © 2026 Garden to Griddle on the Foodie Pro Theme