Bloomer bread is not only beautiful, it's super simple and delicious! This recipe uses honey for a bit of natural sweetness, along with a few other basic ingredients. Bloomer bread is a fun homemade bread whether you're a beginner bread maker or highly experienced!
(This page contains affiliated links)
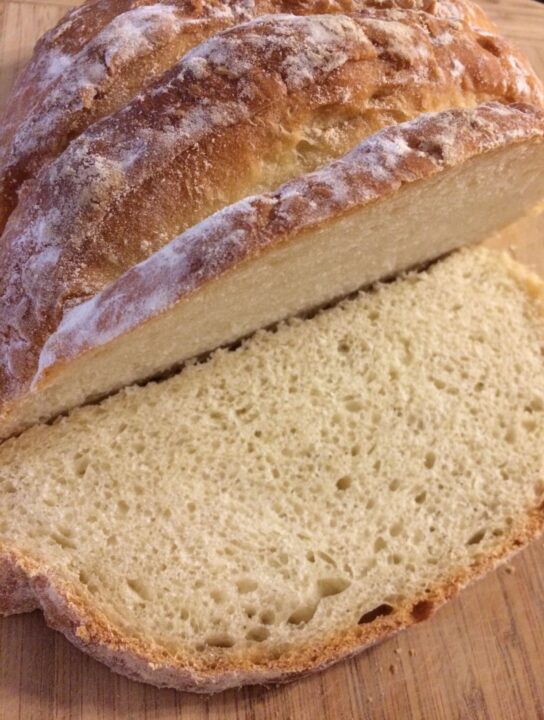
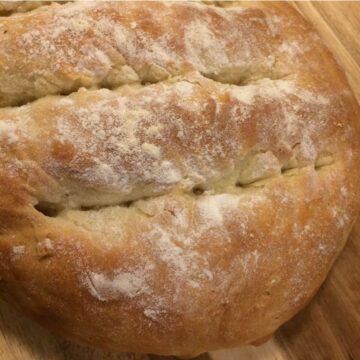
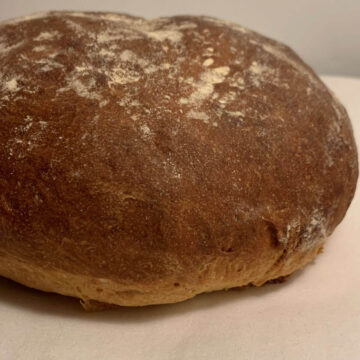
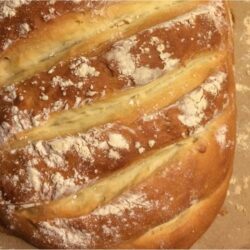
Bloomer bread get its name by how it "blooms" and expands in the oven. It's a popular English bread that's typically elongated in shape and rounded on the ends, with a thick crust and soft interior. This bread will typically have several diagonal slashes across the top and it's often dusted with flour. As you'll see throughout this post, there are many ways you can make your own tweeks to this wonderful bread recipe to make it uniquely your own!
Ingredients for bloomer bread are simple and straight forward. This makes it lower cost, and easy to put together. You could call it a beginners bread, but you could also make it more advanced by shaping, slashing, adding flavors, adding toppings, and altering the color of the crust.
Ingredients for Bloomer Bread
All Purpose Flour: In this recipe I go with a basic, white flour. No bread flour, nothing fancy, just easy and basic.
Yeast: No matter what type of yeast you're using (rapid rise or active dry) I would recommend adding the yeast to the warm water to let it active before combining it with the remaining ingredients. I use this Saf Instant Yeast and I've loved it for all my baked goods. I find that if you let the yeast activate in water you get a dough that's more moist and rich in texture when you're starting to work with it, rather than adding the yeast in dry. It's also good to make sure that your yeast is fresh and working as it should.
Water: I feel silly adding this as an ingredient, but at the same time acknowledge what an important ingredient it is! Some breads call for milk, but for this simple, yet incredible bread, we're just using water. You'll want it warm when you add the yeast, but not hot as it will kill the yeast.
Sea Salt: This is an important ingredient! It helps soften the bread and give flavor. I started making this bloomer bread with less salt and it just didn't cut it. You need enough to taste it and to bring out the sweetness of the honey.
Raw Honey: No granulated sugar here. Honey adds a wonderful richness and natural sweetness! Of course you can replace the honey with white sugar if you prefer but either way, the tiny bit of sweetness adds so much to this bread so don't skip it! If you're not using any honey, you might need to add about 1 additional teaspoon of water to replace the liquid.
Olive Oil: This is sort of a secret weapon in bread making. Add the oil gives the bread rise and a soft interior, but it also helps with creating a crisp crust!
Shaping your Bloomer Bread
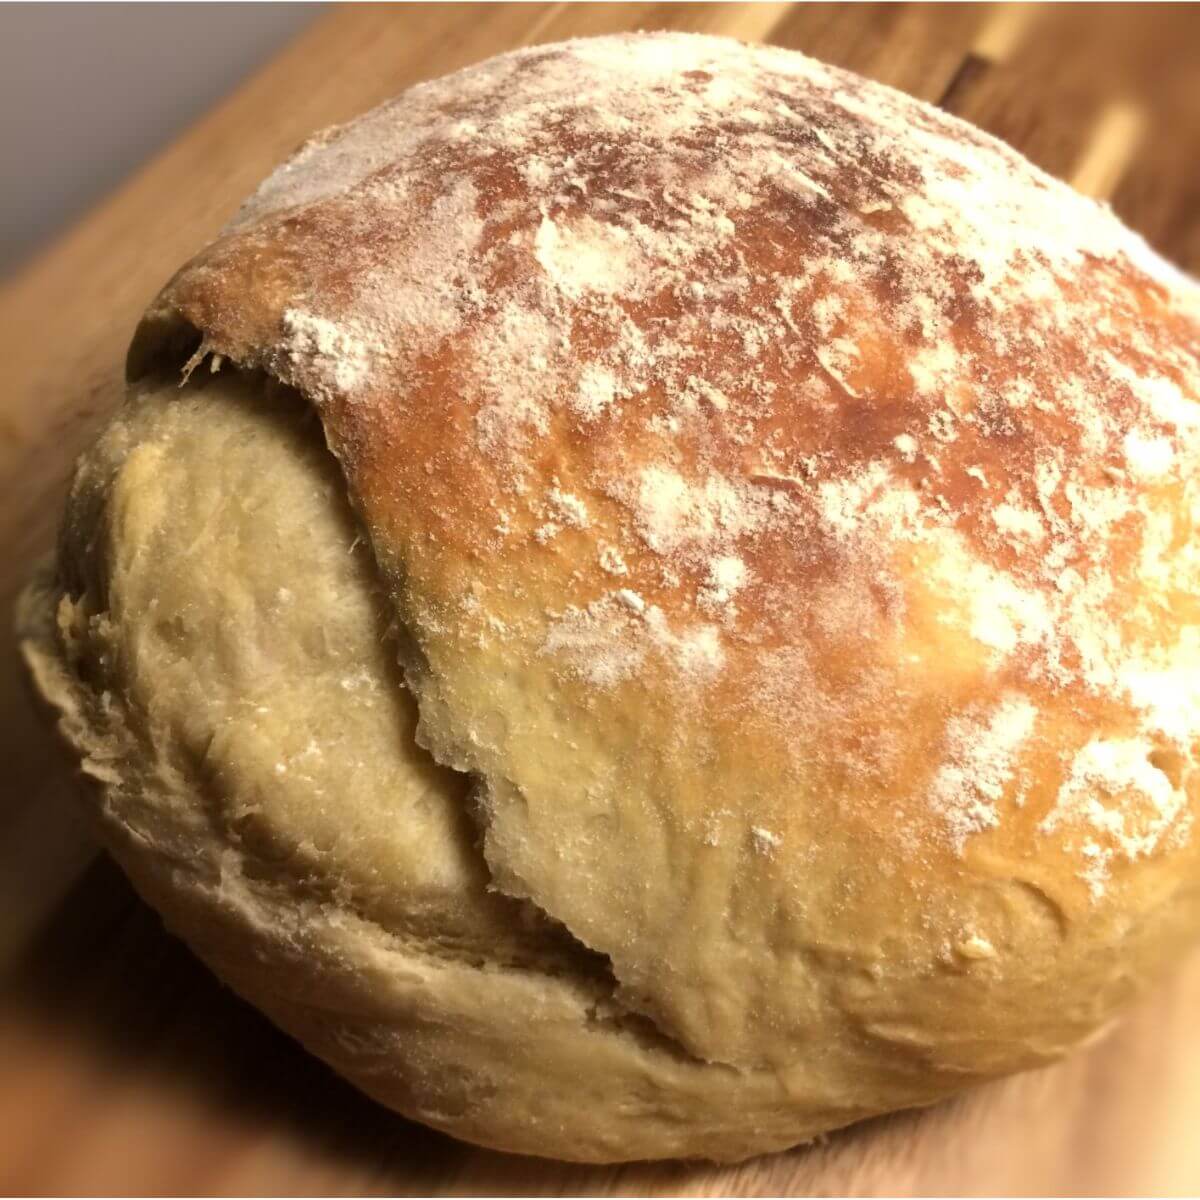
Yes, there might be a traditional method of elongating your dough and rounding out the edges, but really you can make this bread whatever shape you want! I love making round loves as well as wide, more rectangle loaves. I don't personally prefer a narrow and elongated dough because it doesn't work well for sandwiches.
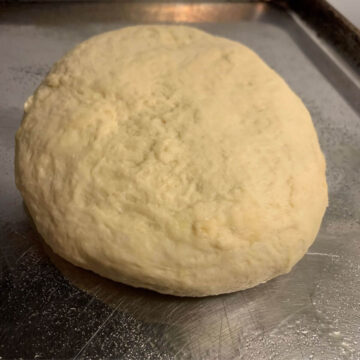
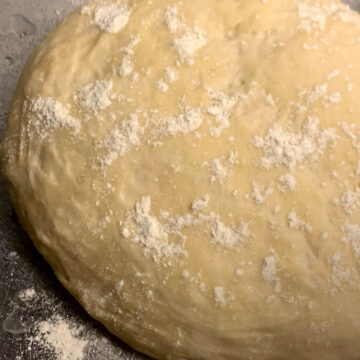
After the first rise, I like to shape my dough into a large round, then press down to flatten it so it likes to spread out more than up into a ball shape. This makes it better for toast and sandwish slices!
Your shape will be influenced by your proofing time. If you under-proof your dough, you'll get a smaller loaf that won't rise as much in the oven. This also leads to a closed-texture bread.
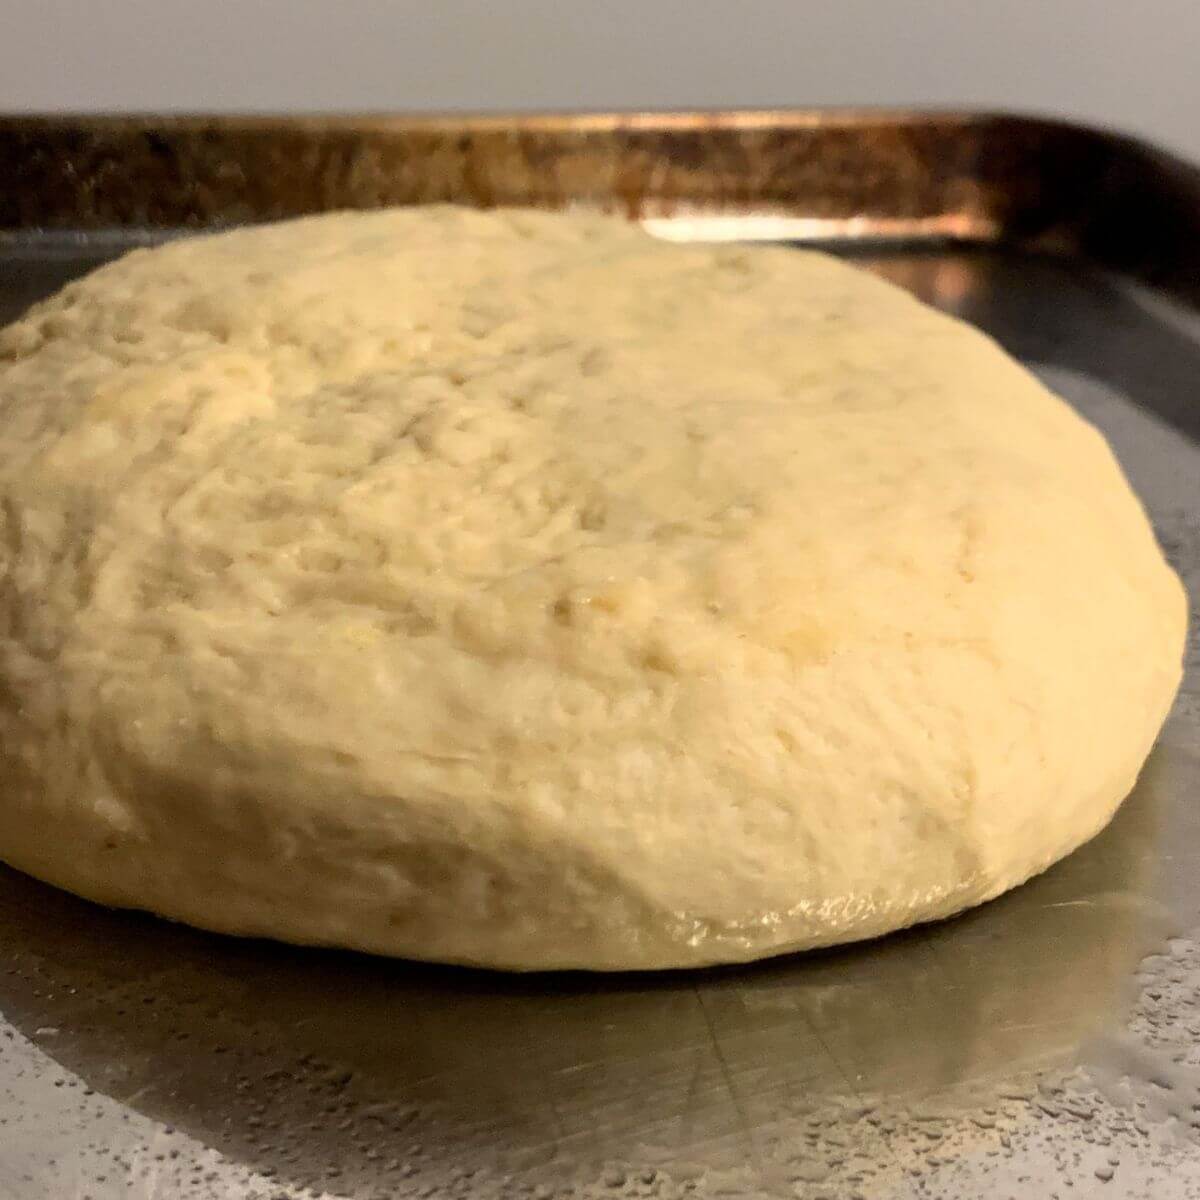
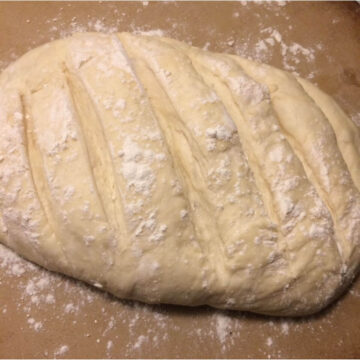
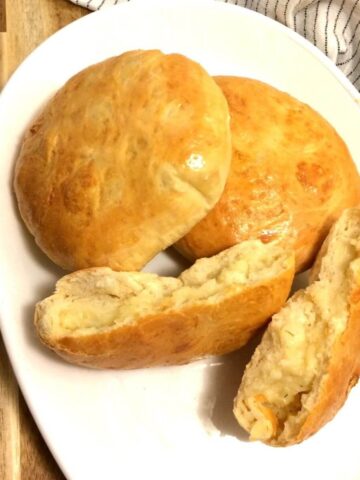
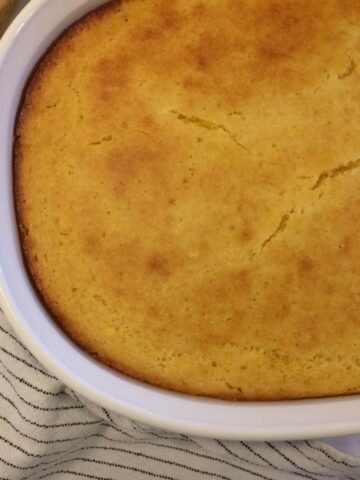
If you over-proof your dough then you can get a flatter and squishier looking loaf, like in the image below. You'll likely get a lot of larger holes in your bread, which doesn't bode well for holding toppings!
Scoring Your Bread Loaf
I'm not an expert bread maker, and I'm not well versed with scoring my bread loaves with incredible images and scenes. I can, however, score my loaves with cutting slashes on the top just fine. If you don't have a Scoring Knife you can just use a really sharp serrated knife to cut slashes on top of your loaf.
You'll want to make quick, not-too-shallow cuts in a diagonal across your loaf, after the first rise, but before the second rise. After your dough has risen and you've formed it in the shape you like, slash it across the top, then cover it to let it "bloom" and rise even more, thanks to those slashes.
In the image above with over-proofing, you can see what happens if the slashes aren't deep enough. Not the worst things to happen and it still tasted wonderful, but if you're going for appearance, make sure your cuts are a bit deeper and watch that second proof!
But, you don't have to score this bread! Yes, scoring it is a key factor in a bloomer bread but as with all recipes, you can play with it to make it what you want. Personally, I love a smooth crust, especially if you're wanting to use the bread for sandwiches. The loaf will still rise, and you'll get a bit different of a color with not scoring it.
You can get a perfectly browned, beautiful smooth crust without scoring, but you might also get a crack or burst in a random spot. I think that's part of the beauty of bread!
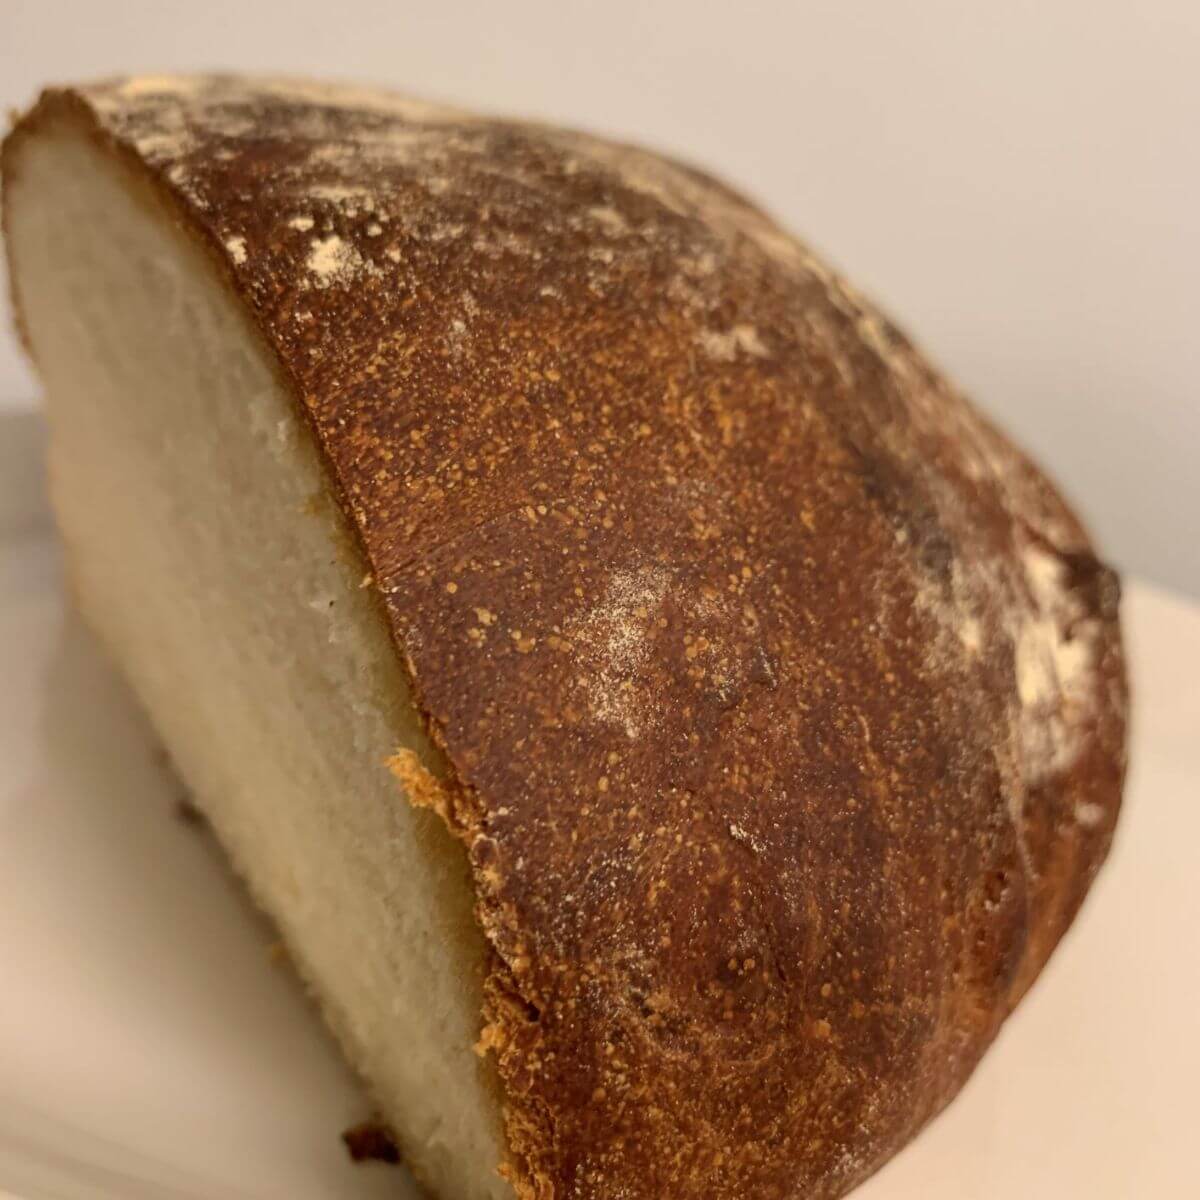
Creating the Perfect Crust
- Adding olive oil to your dough will greatly help with giving you a crispier crust.
- The most important step of all for a darker and crispy crust is adding a tray of water on the bottom rack of the oven. Your color might vary a bit depending on just how much water you add, more water keeping it a bit lighter in color. Adding the water tray will add steam in the oven that gives you that wonderfully crispy crust.
- Lightly tent the bread as it starts getting brown to keep it from getting much darker.
- Option to bake the bread on the bottom rack. This ensures the bottom bakes nicely and the top doesn't burn.
- You will get a different colored crust if you're scoring the bread vs. leaving it untouched. Typically a little litter with scoring the bread.
- If you're using a convection oven, it's harder to get as even of a bake. Depending on how tall your bread rises in the oven you'll need to tent your bread so it doesn't burn before it bakes through.
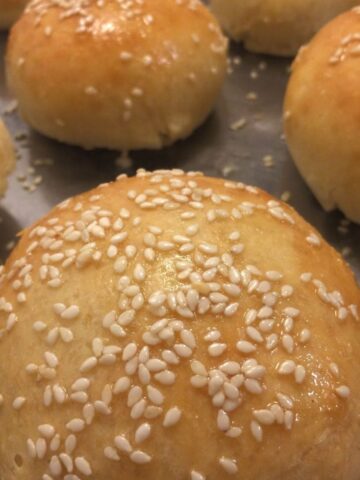
- If you're using toppings like seeds, nuts, oats, you'll have to watch it a bit closer to make sure they don't burn. If they're getting dark you can always tent the bread.
- After your dough rises the second time, sprinkle a little water and then dust it with flour. It will add a great finish!
Understand that this bread can have slight difference every time you bake it and that's okay! The taste is always amazing!
More Delicious Baked Goods
- Cheesy Potato Bread
- From Scratch Soft Burger Buns
- Lightly Sweetened Dinner Rolls
- How to Make Incredible Homemade Soft Pretzels

Bloomer Bread
Ingredients
- ¾ cup + 1 tbsp water
- 1 ½ teaspoon yeast
- 2 ¾ cups flour
- 1 teaspoon sea salt
- 2 tablespoon honey (*see notes)
- 2 ¾ tablespoon oil (+ more to drizzle)
Instructions
- Combine warm water and yeast in a small bowl. Let it activate while you mix the remaining ingredients together. I do this step no matter what type of yeast I use.
- In a large mixing bowl, combine the flour and salt. Add in the honey at this time. Use your fingers if needed to break it part to thoroughly integrate the honey so there aren't any large clumps. Add in the oil and work it all together until a ball forms. Drizzle a little olive oil onto your work surface and knead for about 5-10 minutes. It will start out sticky and you can add about 1-2 teaspoon flour but don’t overdo it. As you continue to knead, the dough will become more elastic and smooth.
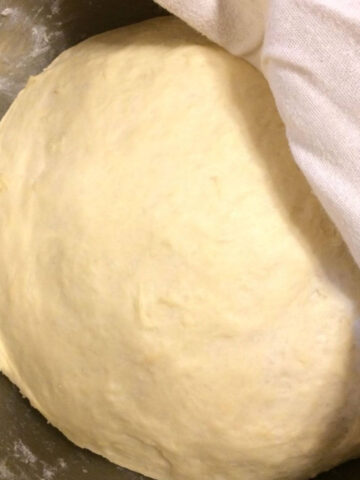
- Cover the dough with a tea towel and let rise for about an hour or until it doubles in size.
- Preheat oven to 425°F.
- Tip out the risen dough onto a lightly oiled or floured surface and knead for less than a minute by stretching out the dough and folding it in half toward you, then make a quarter turn and repeat. Continue for 1-2 full rotations.
- Choose your baking surface (cookie sheet, baking stone) and lightly spray with olive oil. Transfer the dough to that surface and form into a shape you’d like for the finished loaf (log or round) and make sure the ends are tucked under. If you're adding any oats, seeds, nuts on top, you can add those now.You have the option at this time to score the loaf by cutting diagonal slashes in the dough, making sure they're not too close together (only make 4-5). Use a bread knife or a super sharp knife. This step is not mandatory, but your loaf might bust open at a place of its own choosing!Cover and let rise again for about 20 minutes, making sure to not over-proof it.
- Sprinkle the top of the loaf with water and then dust it with flour, but leave off the flour if you have other toppings.Place a tray with a small amount of water on it on the lower rack of the oven. I use about 1 cup of water.
BAKING
- Bake the bread on the middle rack at 425°F for 25 minutes, then decrease to 400°F without opening the oven for another 10 min.
- FOR A LIGHTER CRUST: •decrease time to 18-20 at 425° then do longer at 400°F.OR•bake on lower rack for 25 minutes at 425°F, then 10 minutes at 400°F for lighter crust as well (no water tray underneath).
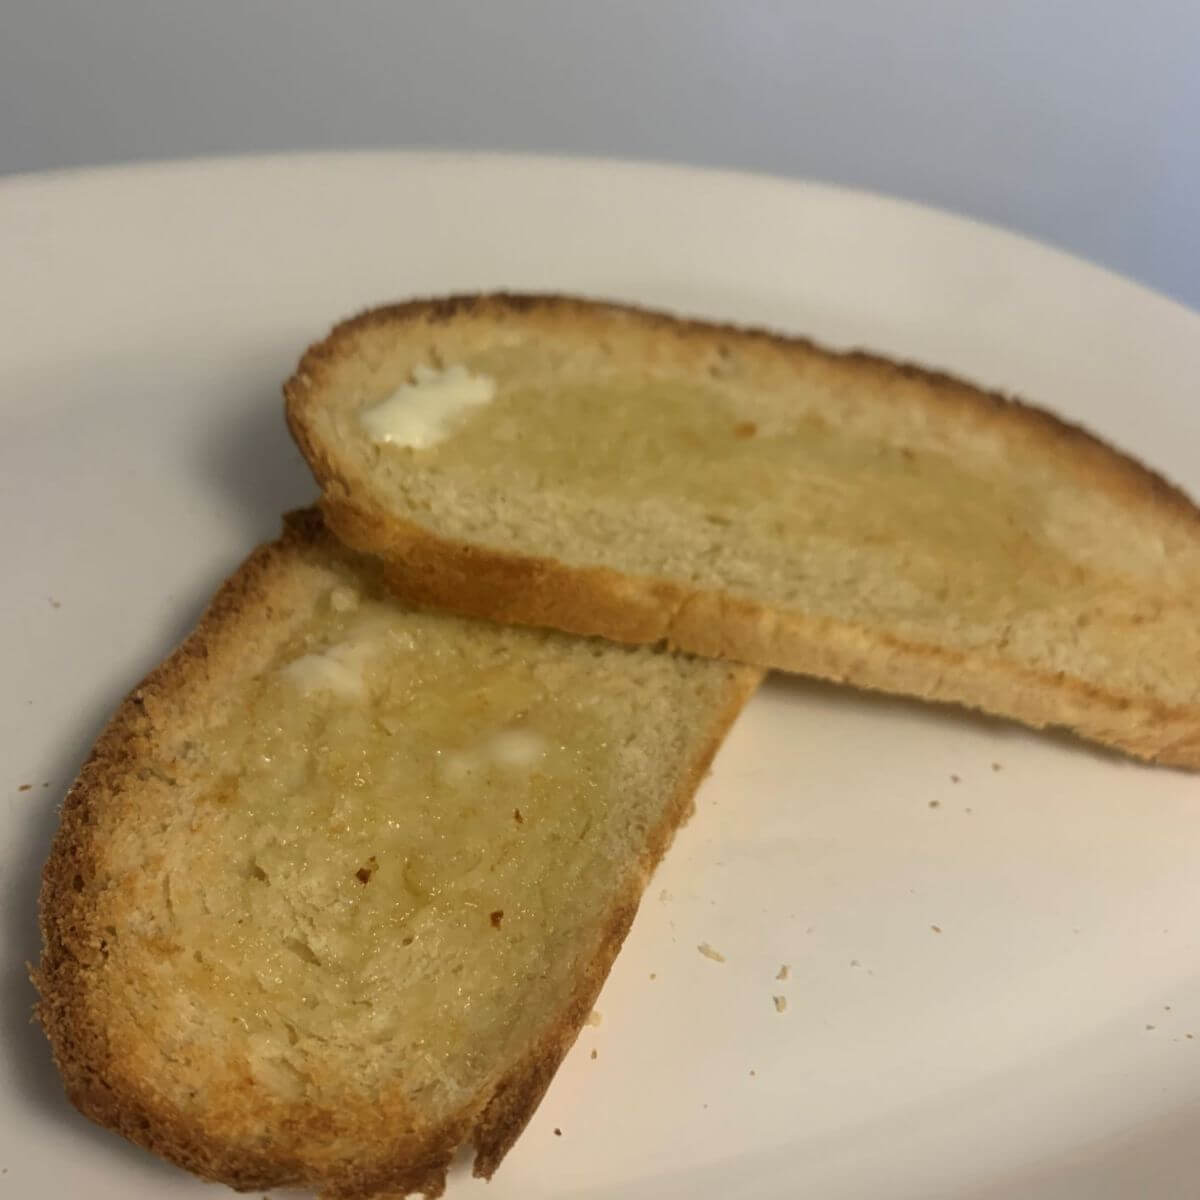
- Don’t get scared of the dark crust, it’s delicious and not burnt!
BAKING IN A CONVECTION OVEN
- You won't be able to use a tray of water, so the crust will be a bit different. Bake on the bottom rack at 425° for 5 minutes uncovered, then cover with foil for 20 more minutes before decreasing to 400°F for 10 minutes.
Kim
Wow this is such a flavorful bread and super easy to make. Will make again.