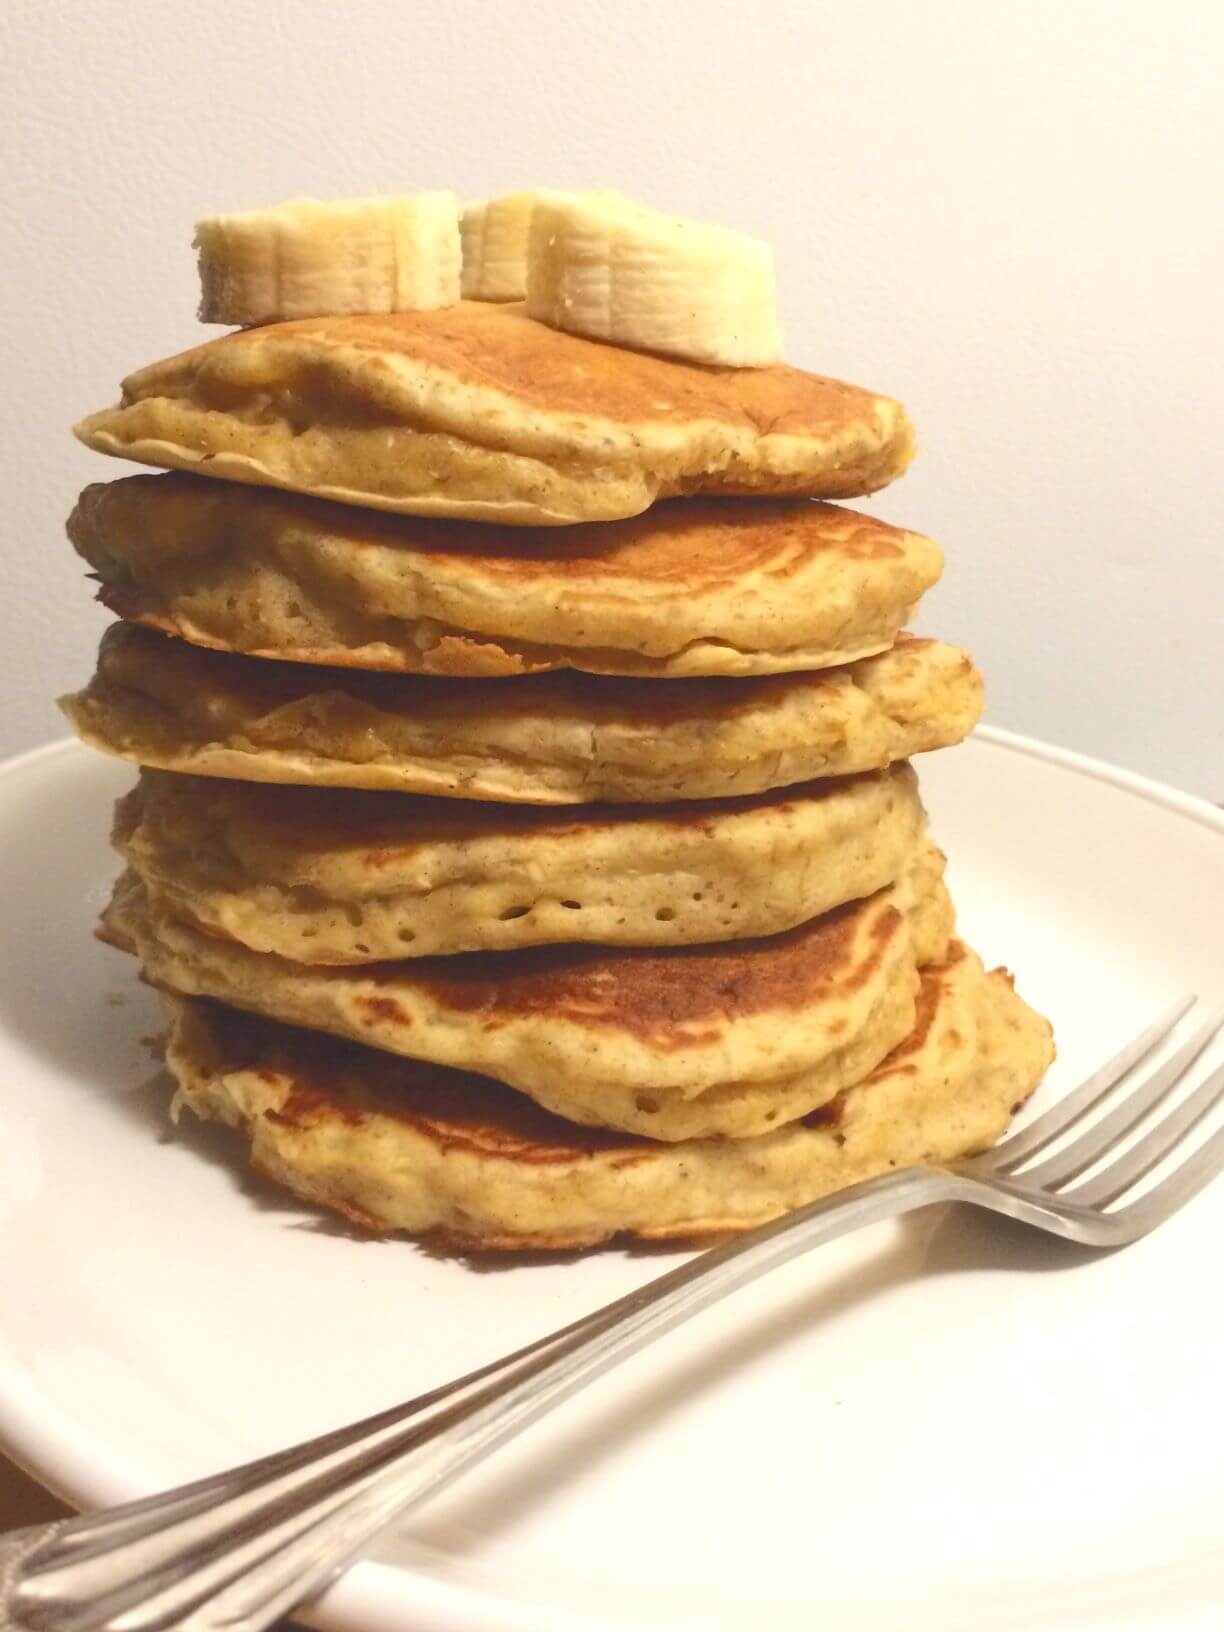
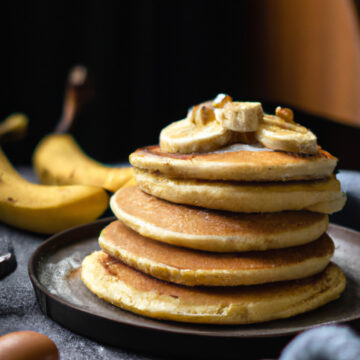
Banana egg oat pancakes that are soft and fluffy, super sweet with natural banana and maple syrup as sweetener, and made even better with using cast iron! These are sweet enough to eat on their own so toss a few in your to-go bag and enjoy amazing pancakes when you're on the go.

Cast iron is great for cooking pancakes, but you have to have the method down for them to turn out just right because It’s so easy for them to go so wrong! Follow my tips for incredibly fluffy banana egg oat pancakes and you’ll realize just how wonderful cast iron is for cooking pancakes.
Top tips
After so much trial and error, here is what I've learned to successfully make perfect pancakes every time in a cast iron skillet.
- Let your pancake batter rest in the fridge for at least an hour if not overnight. It does make a difference!
- Spray your skillet with olive oil, then wipe it down with a paper towel so there's a trace of oil without it being "wet."
- Heat to low-medium heat. On my electric stove with numbers 1-9 I always set it to 2 ½. Make sure it's hot before adding the batter, so be patient.
- Use ¼ cup per pancake for an even cook at the time and temperature recommended.
- Add the batter to the center of the skillet for an even cook. It's best to only fit 1 pancake per skillet if you want an even cook, so I end up using 2 skillets.
- Cover the skillet with a lid while cooking to help them fluff up and cook through fully.
- For your first pancake, you'll cook it about 3 minutes on the first side, and closer to 2 minutes on the second side.
- Don't respray the skillet between pancakes. If you really feel you need to, again wipe it with a paper towel.
- For all following pancakes, you want to aim for cooking about 2 minutes per side, 3 minutes max. This means you might have to manage the temperature a bit depending on your burner. If you've cooked for 2 minutes and it's undercooked, increase temp a tiny bit. If 2 minutes seems a bit dark, then decrease temp a tad.
- Cast iron holds the heat, so decreasing heat as you cook is typical.
- Use a stainless steel pancake turner with cast iron.
- Know that for these banana oat pancakes they will be moist in the middle because of the banana.
Flavor
Even though they contain oats, you can't really tell. They're a bit hardier than an all-flour pancake, but not much different. Especially if you let the batter rest, the oats will be soft and not at all chewy.
I have a young kiddo who loves to grab a pancake and eat on the go. Because of that, I started adding maple syrup to the pancake so she could enjoy it as is. These pancakes have natural sweetener with the banana and a touch more with maple syrup. So, you don't need as much additional syrup! Or, you can leave the maple syrup out of the batter if you're a fan of drizzling syrup on top.
The cinnamon and flax seed are minimal additions but still add to the overall flavor and texture of the pancakes!
Batching
That's usually me. My favorite thing to do is make the batter, scoop out a couple pancakes for each person, then store the rest of the batter in the fridge for the next day. The batter will store for a couple days much better than cooked pancakes!
I hope you enjoy them as much as we do!
Equipment Used
- Cast Iron Skillets
- Stainless Steel Pancake Turner
Related
- From Scratch Amazing Basic Crepes
- Whipped Chocolate Honey Banana Crepes
- Rich and Creamy Cinnamon Rolls
Banana Egg Oat Pancakes
Ingredients
- 1 cup flour
- ½ cup oats (quick oats if not letting the batter rest long, rolled oats if resting overnight)
- 1 ½ teaspoons baking powder
- ¼ teaspoon baking soda
- ½ teaspoon cinnamon
- 1 teaspoon ground flax
- 1 tablespoon olive oil
- ¾ cups milk
- 2 large eggs
- 1 ½ cups banana (about 3 bananas)
- 2 teaspoons maple syrup
Instructions
- In a large bowl, combine all dry ingredients and mix. Add all wet ingredients, breaking apart the bananas and mashing them. Some small chunks are fine and, in my opinion, taste better!
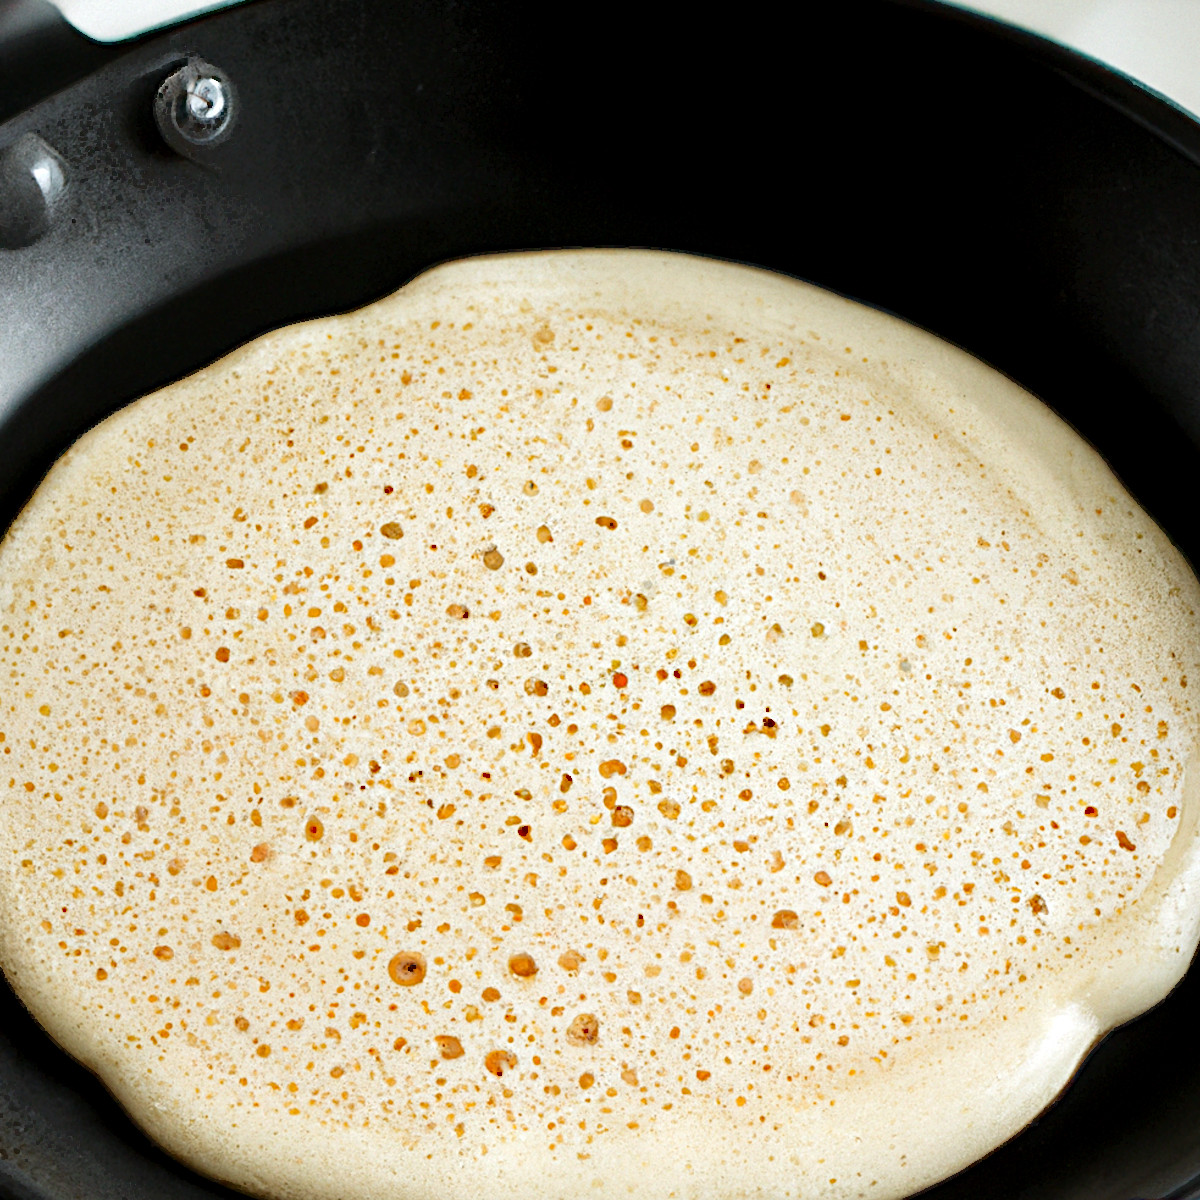
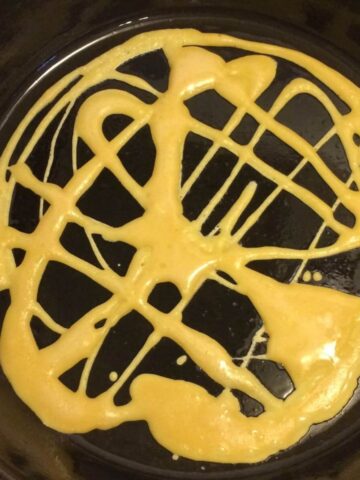
- Spray cast iron pan with olive oil. Wipe the oil around with a paper towel so it’s just coated with oil without being "wet."
- Heat to low-medium heat. Make sure the pan is hot so when you drop the batter in. You should hear a light sizzle.
- Drop ¼ cup of batter into the center of the pan.
- You can use your measuring cup to gently form batter into a round shape, but don’t think of it as spreading out the batter, just round out the edges.
- Cover with a lid, and cook the first pancake for about 3 minutes first side, flip and cook for another 2-3 minutes the second side. All other pancakes will be about 2 minutes per side.
- Don't spray the skillet between pancakes. If your pancakes start to stick for some reason, you can spray the skillet but wipe it again with a paper towel. Manage heat as needed. If the pancakes seem super dark, decrease heat slightly. If they're undercooked by 2 minutes then increase heat a tad. Everyone's stove can be a little different, and every burner on that stove can heat a little different, so just adjust heat as needed.
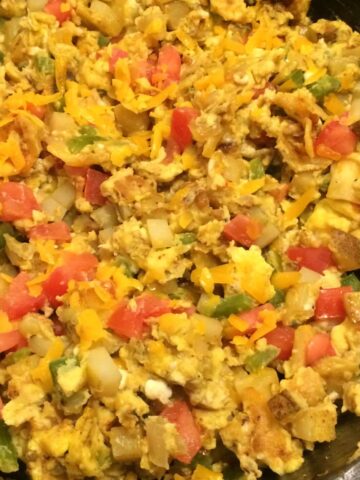
- Enjoy as is or top with fresh sliced bananas, maple syrup, or sorghum!
Leave a comment and rating, I'd love to hear from you!