Skip the deep fry and go for a lower-oil option of pan frying these delicious chimichangas. Garnish with loads of fresh vegetables and toppings to make it a complete meal!
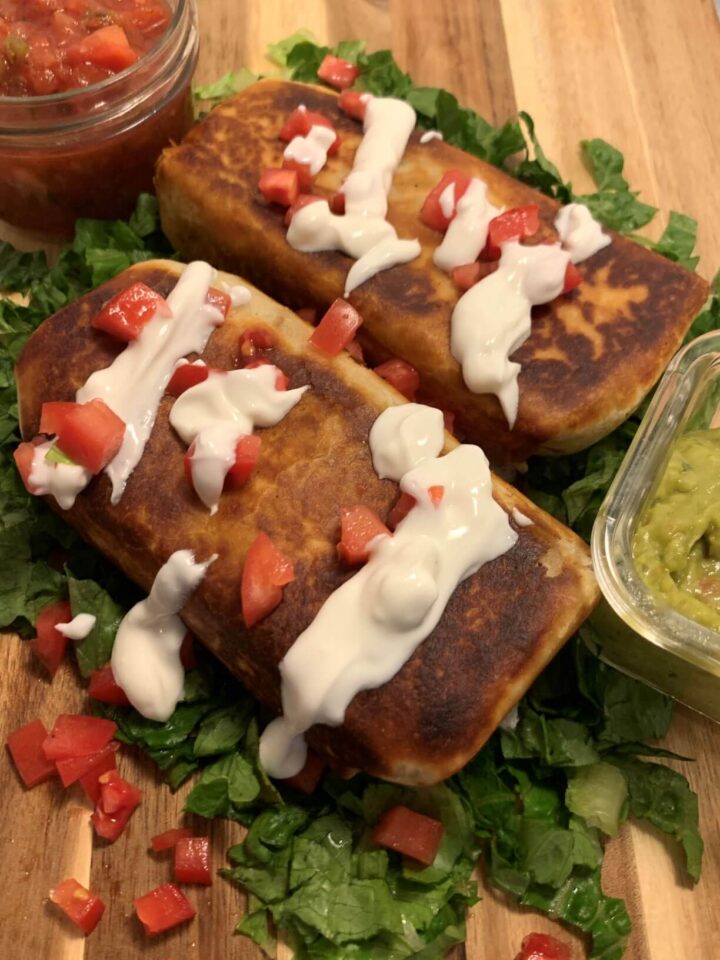
These chimichangas are a fun treat in my house! I try to steer clear of fried food, but these are pan fried in a low amount of oil making them a healthier option! Beef and bean make a great combination for chimichangas, and lots and lots of fresh vegetables on the outside bring pops of color, flavor, and lots of great crunch.
What is a Chimichanga?
Chimichangas are, in a nutshell, deep fried burritos. That's at least how they're typically known. I choose to use a healthier method of pan frying by using a low amount of oil enough to brown all sides of the burrito.
A chimichanga will usually be filled with your choice of meat, beans, cheese, vegetables, and rice. You can use ground beef, shredded beef/chicken/pork, or diced chicken. Beans can be whole or mashed, cheese can be limited or loaded, and rice can be white/brown/cauliflower.
What Makes These Chimichangas Great?
I like to combine beans with meat for more protein, flavor, and a thicker filling. My recipe calls for partially mashing the beans. This is a personal preference for texture but you can fully mash them if you'd like. If you choose to keep the beans whole the filling won't hold together as well. I don't overdo the cheese on the filling but you can always add more!
Don't overlook the garnishes! These shouldn't be seen as an afterthought and help to complete the dish. Since the filling is a smoother texture with cooked ingredients, you want the contrast of the fresh and crunchy veggies. I love to add tomatoes, lettuce, onion, Greek yogurt, salsa, and guacamole. Use what you have on hand, and you can always use fresh avocado to replace guacamole, and diced tomatoes with onion, jalapeno, cilantro, and lime juice to replace a salsa!
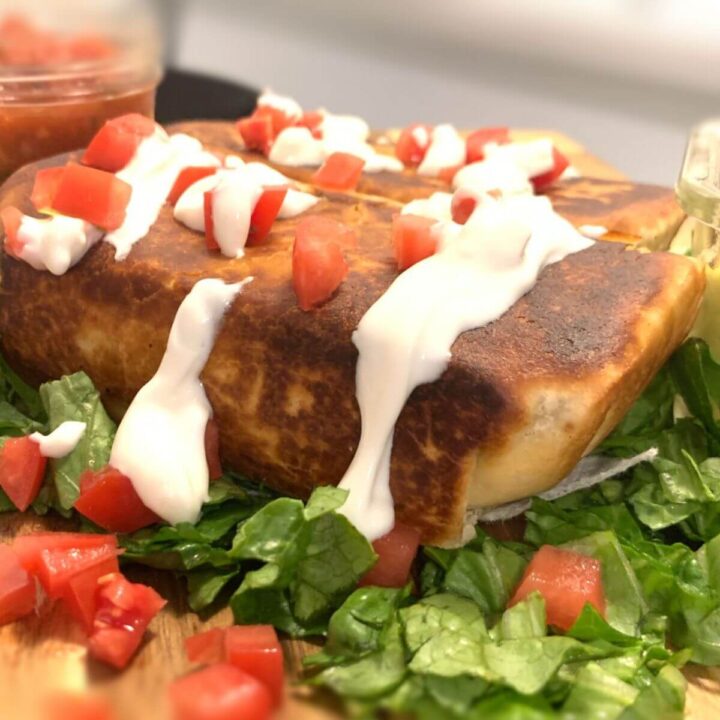
My secret weapon is pan frying the burrito on every single edge and side. Get the outside completely brown and crispy and don't just do a light grill, really crisp it up for more crunch and flavor.
Why not Just Make a Burrito?
In case you're wondering how chimichangas are really that different from a burrito, just think about how great so many other foods are when they're a little fried. You get a whole different texture and more flavor by cooking the tortilla, plus frying it creates a neat little package that holds up so much better when you're eating it!
Remember that this recipe does not use a deep-fry method. You're still using oil to cook it whereas you can avoid the added oil with a basic burrito. But, if you're wanting a fun recipe that's still healthier than deep frying and gives you incredible flavor...you have to give these chimichangas a try! It's just different enough from a burrito to wow whoever sits at your table for dinner, even if it's just you 😉.
Folding a Chimichanga
It might seem frivolous, but you want to make sure that your burrito is folded well before frying it to make a chimichanga! Here are some lovely photos to show my process.
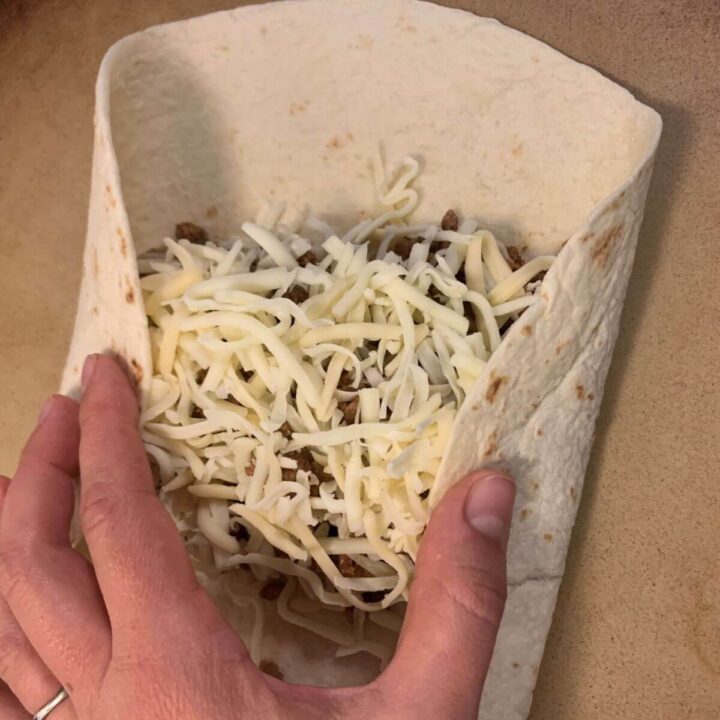
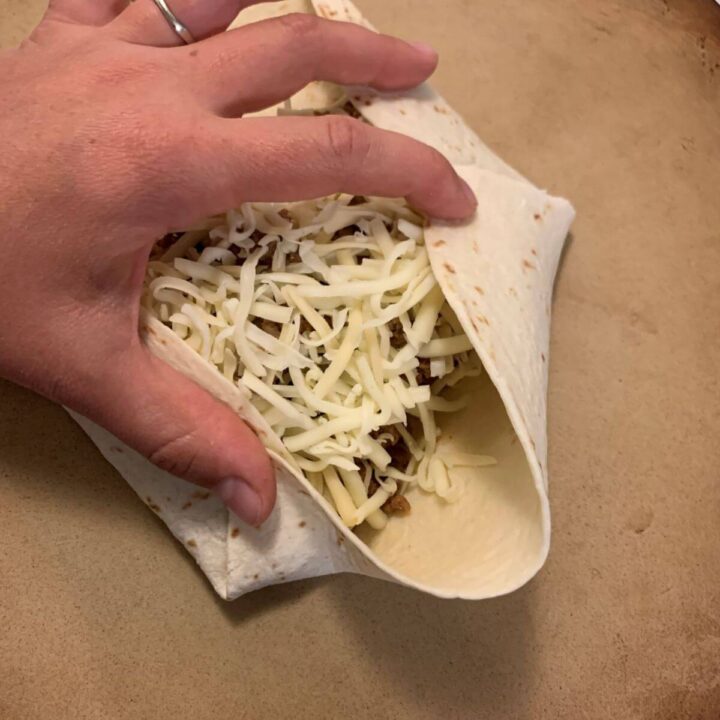
- Start by folding in the short ends.
- Don't jump right to the side yet, but fold in the corners on one side.
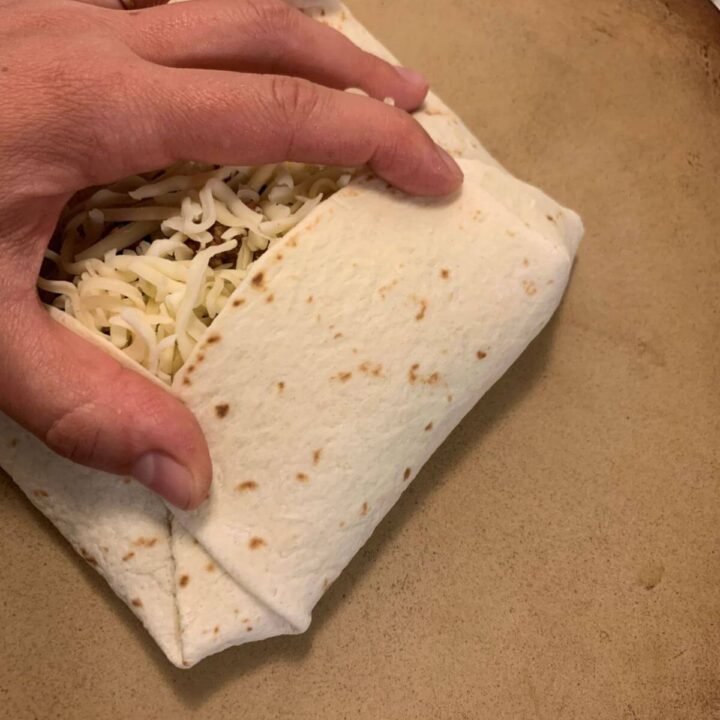
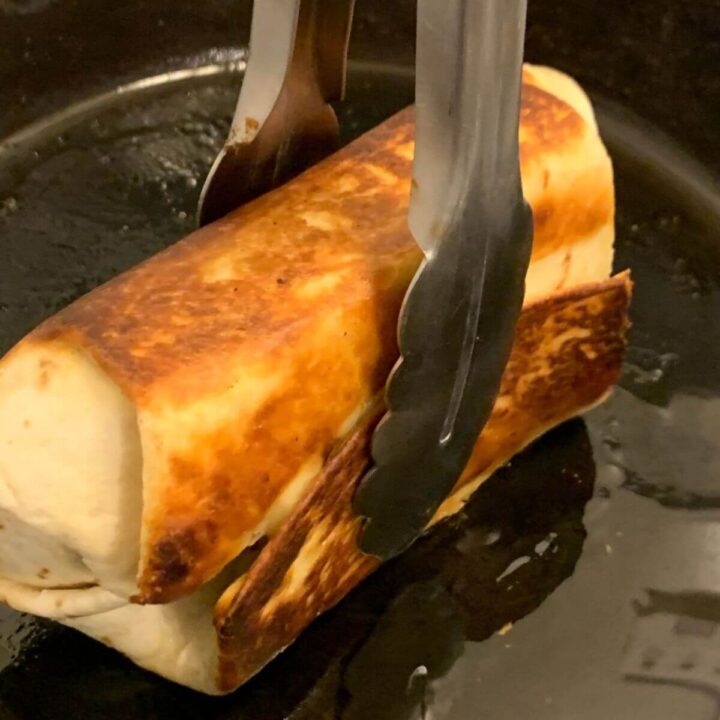
- Now fold over one long edge and hold down that side while you repeat folding over the corners, then long edge of the other side.
- Place sealed side down to fry the burrito and seal it shut. Use tongs to turn your chimichanga. Using tongs will help keep the sealed edge from popping open!
Using Greek Yogurt to Replace Sour Cream
This is a personal preference, but an option that not everyone thinks of! I always use Greek yogurt to replace sour cream. You can use plain Greek yogurt as is, but if you want it easier to drizzle, add a tiny bit of milk to thin it out. This adds more protein and is a healthier option to sour cream.
Serving Size
These beef and bean chimichangas are hefty! The recipe yields 3 large chimichangas. My daughter, who adamantly requests her food to look the same way as mom and dad's, fussed (with head thrown back and pretend crying sounds) saying "you gave me so much foooooood." With that said, these portions are great for adult and older kids. For younger kids, you might want to use a smaller tortilla and a smaller amount of filling in each one.
This recipe uses large burrito-sized tortillas. I highly recommend these tortillas if you can find them in your local grocery store. They're free of trans-fats, which is very difficult to find with flour tortillas! They're always soft and a great size for large burritos.
You can also use a bit smaller of a tortilla like an 8 inch size and use less filling in each one. Don't try to just use less filling in a larger tortilla or you'll just get a big mouthful of tortilla! Using the smaller sizes will yield more chimichangas and be better for younger kids!
Similar Recipes
- Barley and Beans
- Easy Taco Filling (3 ways)
- Guacamole From Scratch
- Salsa Verde (Green Chili Salsa) 2 Ways
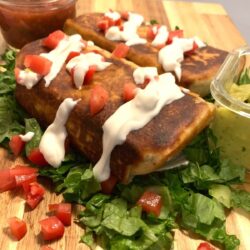
Beef and Bean Chimichangas
Ingredients
- 1 cup onion, diced (any type)
- 3 large garlic cloves (use my method for peeling garlic)
- ½ teaspoon olive oil
- 1 pound lean ground beef
- 15.5 ounces pinto beans, low sodium (1 can, drained)
- ¾ teaspoon sea salt
- 1 teaspoon garlic powder
- 3 ½ teaspoon ground cumin seed
- ½ teaspoon chili powder
- 2 teaspoon dried oregano
- 2 tablespoon tomato paste, no salt added
- 3 large tortillas (burrito size)
- 1 ½ cups shredded cheese (Mexican cheese blends, Monterey Jack, Colby jack, mozzarella, or cheddar)
- olive oil for pan frying
Garnishes
- diced tomato, onion, lettuce, jalapeno. Salsa, guacamole, Greek yogurt drizzle.
Instructions
- Set out your tortillas so they’re room temperature.
- Strain out pinto beans from juice and partially mash them so they’re half blended, but still chunky with some whole beans. You can use a fork or potato masher. Set aside.
- Heat a large skillet on medium heat with ½ tablespoon olive oil.
- Dice the onions, peel and finely dice garlic, and add to hot skillet. Sauté for 2 minutes, then transfer to a bowl.
- Drizzle a little olive oil in your hot skillet and break up the ground beef into the skillet. Add sea salt, garlic powder, ground cumin, chili powder, and oregano. Cook meat until browned (about 5-6 minutes) and turn off heat. Add tomato paste, mashed beans, and the sautéed onion/garlic. Combine all together and transfer to a bowl.
- Shred cheese.
- Scrape out the skillet as best as possible. Return skillet to medium heat with 2 tablespoons olive oil.
- While skillet heats up, prepare your chimichanga by laying out 1 tortilla. Fill with about 1 ⅓ cups meat filling and ½ cup shredded cheese.
- Fold the tortilla by folding in the short ends. Before folding in the edges, I add an extra small fold to the corners, then fold over the long edge. Repeat on the other side by folding in the corners, then the long edge up and over to close it all off. Option to pierce the fold with a toothpick to help it stay closed, but I don’t find this necessary.
- Hold the burrito closed tightly and lay sealed-side down un the heated skillet. Let cook for 1 minute, then use tongs to gently flip for another minute. Don’t forget to grill all the edge so use your tongs to rotate the chimichanga to grills all remaining edges for about 15-20 seconds each. Once nicely browned on all edges, transfer to a plate lined with a paper towel to absorb any excess oil.Using tongs help to hold the chimichanga close as you're rotating it and frying on all edges.
- Repeat with 2 remaining tortillas. TIP: drizzle more oil in your skillet so there’s always oil moving and it doesn’t dry up. If you’re empty skillet it smoking too much while you’re prepping your next burrito, you can remove the skillet from heat, but make sure it’s back on and heated to temp before placing in your burrito to fry.
- Once you’ve fried all 3, prepare your garnishes:Chop lettuce, dice tomatoes and fresh onion. Enjoy with guacamole, salsa, optional jalapeno, and sour cream. I like to replace my sour cream with Greek yogurt. If you don’t want it so thick, mix in a little milk to thin out the yogurt.

Leave a comment and rating, I'd love to hear from you!